
I really want to show you the work we've done on the house over the last few months. After my bathroom upstairs was finished around Easter time (can't believe it was that long ago) we refurbished the downstairs bathroom, which I'll show you in a different post, and finally the living room which I was desperate to finish for Christmas so I could put a tree in there.

It was a huge job as it was very out-dated and everything needed replacing. It wasn't a simple case of re-decorating. It took at least 2 weeks just to strip the wall paper off the ceiling and walls. Oh and let's not forget the lovely artex tiles on the ceiling too. What a mess.


I don't know how long the wallpaper had been up for but it was a thankless task taking it off. We were glad that at least one of the walls was new from when we were converting the loft last year.


After the walls were stripped the damage could be assessed. The chimney wall was in pretty poor condition. The fire had left a mess behind and a massive hole in the wall was discovered where piping had been put in and not plastered over.


The ceiling is the only thing that still nags me about the room. It was in poor condition with cracks running from one side to the other. My Dad did his best filling it and making it as good as he could but ultimately plastering a ceiling wasn't a job he was up for. We priced up having a plasterer do the job but it was £200 I didn't want to part with. Maybe in the future when it's being re-decorated I'd have it done because I know it would just improve the room so much but for now it looks a whole lot better than it did.

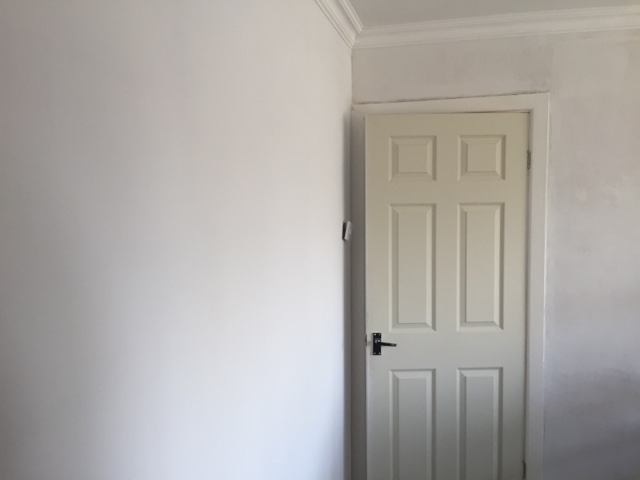
Next, the hole in the chimney was bricked up. The hole in the wall was plastered and so was the new wall.


I love when the coving goes up because it changes the look entirely. We opted for a patterned coving because we had plain skirting boards so I thought it would be a nice contrast.

We undercoated the walls with white paint especially because one of the walls was new plaster.
Then we painted but I can't for the life of my remember the name of the paint but it was definitely Crown. It took two full coats and a few touch ups to get an opaque colour. It matches the wallpaper perfectly and I love it.


We bought the wallpaper from Homebase and it's called Gran Deco Paradise Damansk it was £20 a roll but to do the chimney wall it took 3 rolls so I didn't think £60 was too bad.

I love the pattern, it has a slight glimmer in the sunlight too which really brightens it up.


We put up the curtains and valance from the old house and the mirror on the chimney was from the old house too. However we bought a new electric fire from B&Q. It's called Madison and cost only £100 which for the size of it was the best deal I could find. We don't really use the fire for heat but it's nice to have the LED fire effect on.

Carpet was something we all had different preferences on. My Dad wanted dark brown which was just not going to happen. I wanted cream and my sister wanted anything but cream.
We went to carpet right and I was disappointed to find not a single cream carpet I liked. So we settled for this golden-brown colour. It matches the room nicely and was the best match for all of our preferences.
For the carpet, underlay and gripper it cost £270.

Then we put all of our furniture back in. The light fitting is from BHS and cost £70 in the sale.


I also bought a chair from TKMaxx, it cost £158 which was expensive but I think it adds to the room nicely.

All in, it cost £1,004 to refurbish this room. I didn't anticipate it costing that much at all but with it being in such bad condition we wanted the end result to look as good as it possibly could. Now I cannot wait to put up my Christmas decorations next week!!!
I hope you enjoyed reading this, I will show you the new bathroom asap.
If you have any questions, put them in the comments and I'll get back to you :)
Thanks for reading,
Leanne x

Previous Home Renovation Posts:
Loft Conversion part 1
Loft Conversion Part 2
Loft Conversion part 3
Room Tour
Loft Bathroom part 1
Loft Bathroom part 2
Bathroom Tour


0 comments:
Post a Comment
Thank you so much for reading! I read every single comment and reply to them all. If you have any other questions you can Tweet me @MystNeonLights :)