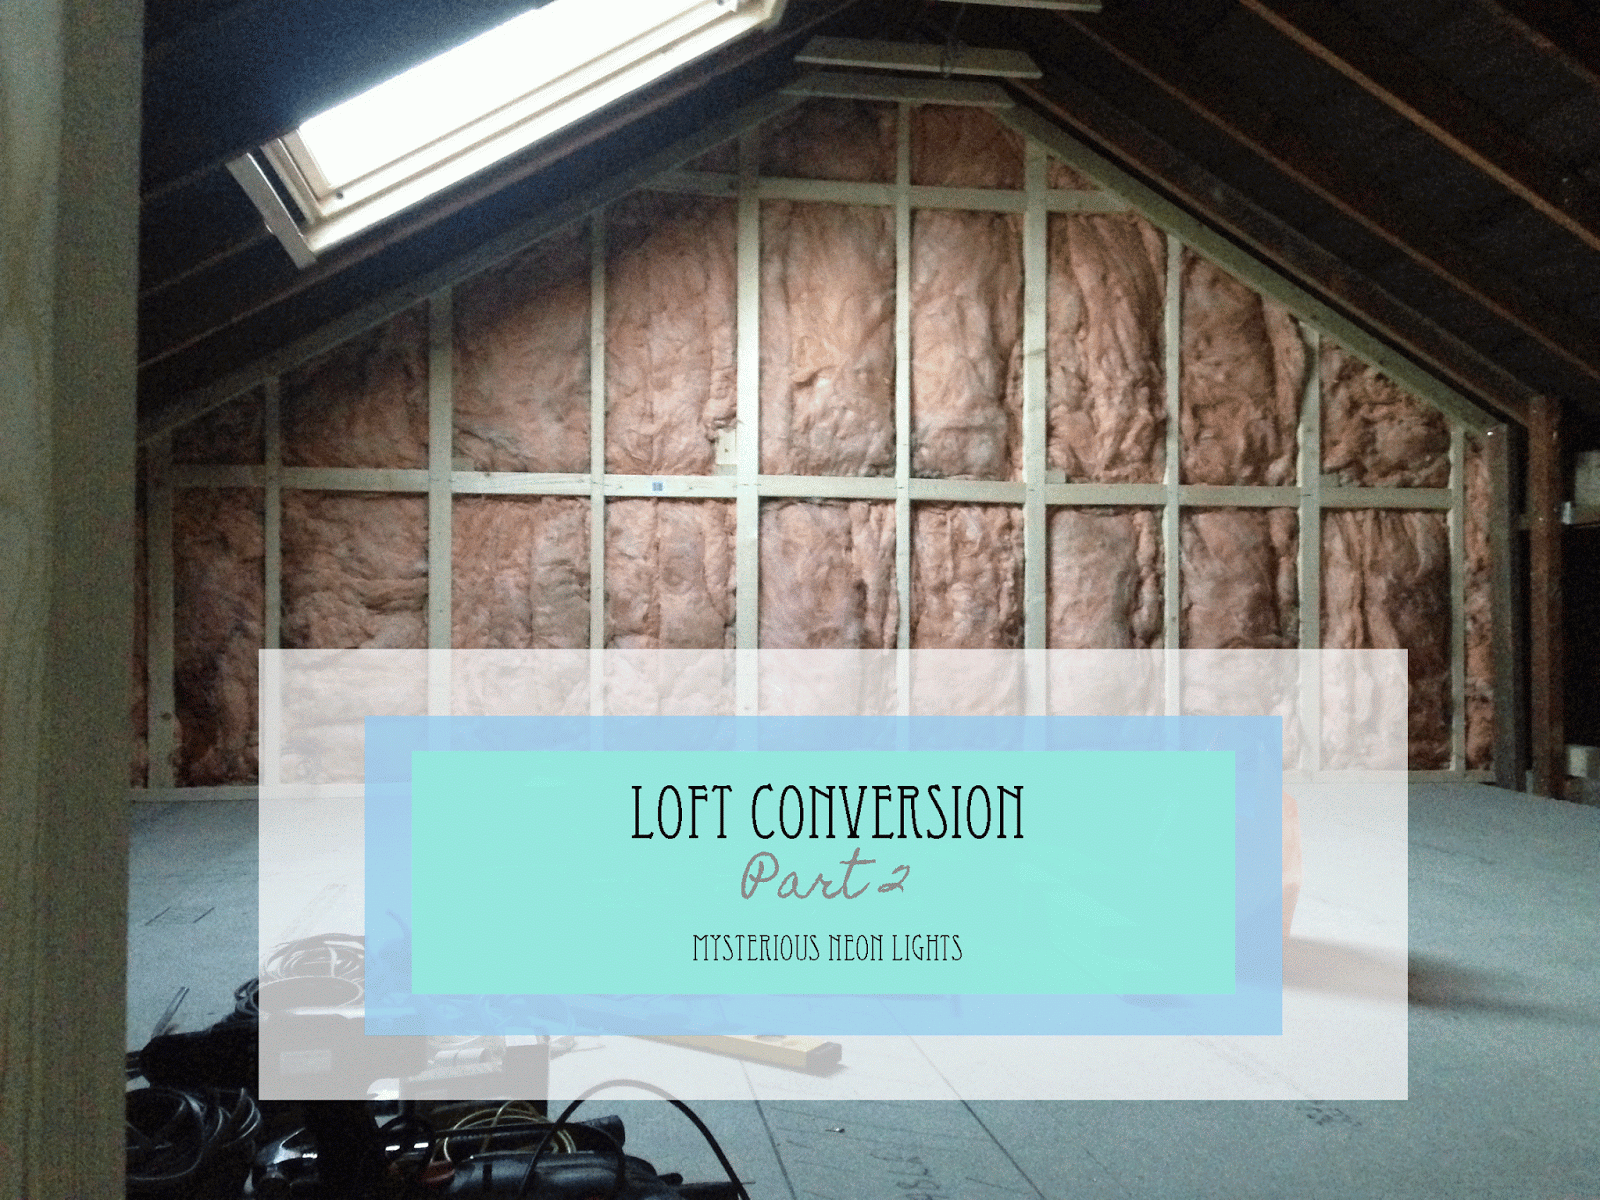
Hello everyone!
If you didn't catch Pt.1 of the loft conversion, you can see that HERE. In that post you saw as far as the floor being put down and in this post you're going to see how far we've come over the last 4-ish weeks.
After the floor was put down, the frames of the walls were invented. Also, the slats for the flat part of the ceiling were put in.
You can see in the picture above where the walls of my room will be and the smaller room to the right will eventually be a bathroom. I took this picture on what will be the landing at the top of the stairs.
The doors will be significantly shorter than normal doors because, ya know, it's a loft. It'll be cute. The walls took about a week to put up all together. Because everything's a funny shape and uneven it seemed to be taking ages at the time.
After the frame was up, the two end walls were insulated and plaster boarded. The roomed seemed so much warmer just from the two end walls being covered. That orange stuff it awesome.
Then the side walls were insulated and the room resembled a space craft for a few days. We used Super Quilt which was pretty pricy but apparently the best thing to use. It took three rolls to insulate the bedroom and the landing, the bathroom hasn't been insulated yet.
In addition to the Super Quilt, we had to use special silver tape to blend all the edges and remove any possible places that air could escape.
Then the insulation had to be battened before it could be plaster boarded because you have to leave an air gap.
As you can see, all the wires have been put in too. I'm having spot lights in the ceiling because the head hight isn't like a normal room so we didn't want to have lights hanging down. I also have two double plug sockets on the back wall and two double sockets on the left side wall. The right wall is going to be wardrobes so that didn't need any plugs.
In the video above (if it works, that is) you can see the finished plaster board. I didn't take any pictures of it finished so I hope this will do.
The pictures above show what the top of the stairs looks like. The bathroom still hasn't been insulated or plaster boarded but work will commence on that after these two rooms have been finished.
My dad tried his hand a plastering after looking at prices to have a plasterer in. It's so expensive to hire a professional so he gave it a go himself.
As I'm writing this the walls haven't dried so I shall report back in Pt. 3 how it turns out. So far it looks really good and any uneven bits can just be filled in.
I'm so happy to be tantalisingly close to moving into the room. Hopefully in my Christmas holidays (I work in a school) I shall be moving in :D
Allow me to make a list of remaining loft jobs:
Skirting boards
Door frames
Doors
Painting
Wallpapering (one wall)
Putting on the plug sockets and light fittings
Carpet
Buying furniture
Bannister for the stairs
Plastering the landing
Decorating the landing
Starting on the new bathroom
Keep your eyes peeled for part 3...
Thanks for watching,
Leanne x

- TODAY I bought the Boots No.7 light up mirror with my Boots points. So proud of my little early Christmas present to myself. Thanks a bunch Boots! The mirror was on half price so it was £19.99 which I would have payed anyway because I've wanted one for ages but even so it's nice to get something for free!
- I was going to tell you to check out my guest post on The Busy Bee's blog for blogmass but for some reason only invited readers can access the blog so I don't know what's happening there....
- I bought and wrapped lots and lots of Christmas presents today, I also wrote out my cards so I feel relieved that that's over and done with! Stupidly I forgot to take pictures of the presents first so I can't write gift guides :( I'll show you after they've been opened though.


I really loved reading your blog. It was very well authored and easy to undertand. Unlike additional blogs I have read which are really not tht good. I also found your posts very interesting. In fact after reading, I had to go show it to my friend and he ejoyed it as well! loft conversions london
ReplyDeleteThank you so much for your lovely comment and sharing with your friend!
DeleteHere's a link to a video I put together of the conversion from start-finish if you're interested!
https://www.youtube.com/watch?v=vE_4eQzd_OQ
Thanks again,
Leanne :)
This comment has been removed by the author.
ReplyDeleteI admire this article for the well-researched content and excellent wording. I got so involved in this material that I couldn’t stop reading. I am impressed with your work and skill. Thank you so much.
ReplyDeletehttp://8design.com.sg/services/bto-home-renovation/
I really like your take on the issue. I now have a clear idea on what this matter is all about.. 3d innovations - renovation singapore
ReplyDelete